
Last Updated: October 4, 2026
High pressure cleaning drives water into a surface at forces that strip away more than grime.
The surfaces that suffer most are the ones homeowners most want cleaned: painted render, timber decking and weatherboards, and composite cladding, all porous or coated, and vulnerable to high-pressure water.
This guide from Spray Pave Pro covers what to use instead, surface by surface, so you can clean without causing damage.
Soft washing is a low-pressure method that relies on cleaning solutions to break down organic growth rather than water force.
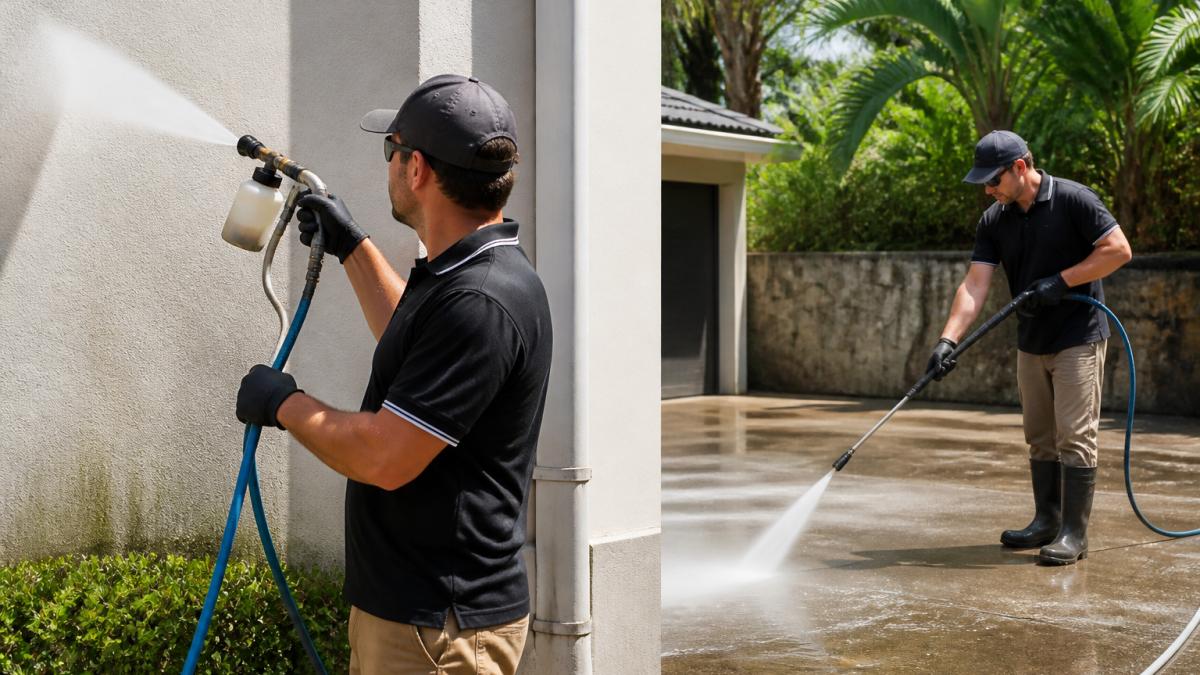
The two methods solve different problems. Pressure washing removes loose dirt and grime from hard, uncoated surfaces. Soft washing removes mould, mildew, algae, and bacteria from surfaces that would not survive a high-pressure blast.
| Feature | Soft Washing | Pressure Washing |
|---|---|---|
| Water pressure | Low | High |
| Primary cleaning agent | Cleaning solution | Water force |
| Best for | Render, timber, cladding, roofs | Concrete, pavers, hard paving |
| Risk of surface damage | Low | High on soft materials |
| Typical dwell time | 10-30 minutes | Not applicable |
You can clean an entire exterior without a pressure washer using a pump sprayer, a garden hose, and the right cleaning solution. It is slower per square metre but far safer for coatings and cladding.
The sequence is the same for every surface:
Rendered and cladded walls respond well to a soft wash because the solution works in the pores. Apply bottom-up so it does not streak down dry render, then rinse top-down.
Keep the rinse pressure low, a garden hose with a fan nozzle is enough. For stubborn algae, apply a second round and let it dwell longer rather than scrubbing harder, which abrades the render.
Weatherboards need the gentlest approach. Timber swells when saturated, and high-pressure water forces moisture into the grain and behind the boards, where rot begins.
Work in sections, keep the rinse moving, and avoid water pooling at the base of the wall. A soft brush on a pole handles any remaining film.
Timber responds best to a low-pressure wash with a timber-safe cleaner: lift organic growth without raising the grain or driving water into the fibres.
A workable approach for decking:
Cleaner choice matters more than technique. An alkaline cleaner on timber can raise the grain and leave a dull finish, so check the label for timber suitability before buying.
Concrete tolerates more force, but you still do not need a pressure washer. A stiff-bristle brush, a concrete-safe cleaner, and a hose handle most driveway and patio grime.
For stains, apply the cleaner, let it dwell, and scrub in manageable patches before it dries so the chemistry stays active.
On sealed concrete, be careful: harsh cleaners and abrasive scrubbing wear the sealer, and once it is gone the surface stains faster than before.
Cleaner selection decides the outcome more than any other variable. Get chemistry, dilution, and dwell time right and the surface comes clean with almost no agitation; get them wrong and you can bleach render, raise timber grain, or strip a coating in minutes.
The useful version is a decision framework: match the active ingredient to the soil type, match the pH to the material, then set dilution and dwell time from the label rather than habit.
Different soils need different chemistry:
This is where most DIY damage happens: a cleaner safe on concrete can ruin timber or etch a coating.
If you are unsure, test on a small, inconspicuous patch and let it dry fully before committing to the whole surface.
More concentrate is not more cleaning power. Over-strength solutions bleach colour, strip coatings, and leave residue that attracts new dirt; under-strength solutions waste a day and force the scrubbing you were trying to avoid.
Dwell time is how long the solution stays wet and working. Too short and it does nothing; too long and it dries, stops working, and starts staining.
Agitation is a supplement, not the main event. A soft-bristle brush along the grain of timber, or a soft brush on render, lifts stubborn film without abrading. Rinse top-to-bottom with low-pressure water until the runoff runs clear.
| Material | Suitable chemistry | Avoid |
|---|---|---|
| Timber decking and weatherboards | pH-neutral or timber-specific cleaner | Strong alkali, chlorine |
| Composite cladding | Mild detergent, oxygen-based cleaner | Solvent-based, abrasive |
| Painted render | Mild detergent, diluted oxygen-based cleaner | Acidic cleaners, strong hypochlorite |
| Unsealed masonry and concrete | Wider pH range, surfactant detergent | , |
| Sealed concrete or pavers | Sealer-safe neutral cleaner | Harsh alkali, acid |
| Glass and metal trim | Glass cleaner, mild detergent | Abrasives, strong alkali |
Safe handling and storage of household chemicals
If you are not confident matching chemistry to a material, that is the point at which a professional clean is cheaper than a repair. A wrong cleaner can do more damage in ten minutes than a pressure washer does in an hour.
Runoff is the part most DIY guides skip, and it causes the most avoidable harm. Cleaning solutions, loosened mould, paint flakes, and dissolved dirt all end up somewhere, and in most urban and suburban areas that somewhere is a stormwater drain flowing to a creek, river, or bay without treatment.
The goal is simple: keep dirty water on your property, or dilute and filter it before it leaves, and protect plants and waterways from the chemistry.
A common pattern is that homeowners assume the drain at the front of the property is a sewer. It is almost always stormwater. Check before you start.
Requirements vary by council and state, and are easier to plan around than fix afterwards. Before a large exterior clean, check your council's guidance on exterior cleaning runoff and whether your water authority restricts what can enter the stormwater system.
Stormwater and waterway protection guidance
If the job is large, the surface is heavily contaminated, or the runoff risk is high, a professional clean is often the better environmental choice, the right equipment and containment are already in place, and the waste is handled correctly.
DIY soft washing suits single-storey homes, small areas, and surfaces you can reach safely from the ground. With a pump sprayer and a section-by-section approach, you can handle most render, cladding, and timber cleaning yourself.
Professional cleaning makes more sense when:
The trade-off is time versus risk. A DIY soft wash takes a full day for most homes; a professional crew finishes faster and has the expertise to avoid damage that turns a clean into a repair.
Soft washing uses low-pressure water and cleaning solutions to remove organic growth without damaging surfaces. Other options include manual scrubbing with a brush and detergent, chemical treatments like bleach or vinegar solutions, and steam cleaning. For delicate materials such as timber, render, or composite, these methods are safer than high-pressure cleaning.
Yes. Soft washing operates at low pressure, typically under 500 psi, which prevents surface damage like etching, splintering, or water intrusion. High-pressure cleaning can strip paint, crack render, and force water behind cladding. Soft washing relies on cleaning solutions to break down mould, algae, and mildew, then rinses gently, making it suitable for timber, vinyl, and composite surfaces.
Use a soft brush or low-pressure washer with a mild detergent or oxygen bleach solution. Avoid high pressure, which can splinter wood and strip finishes. Work in small sections, scrub along the grain, and rinse thoroughly. For mould, apply a diluted bleach solution, let it dwell for 10-15 minutes, then scrub and rinse. Always test a small area first.
A stiff-bristle brush, a garden hose, and a concrete cleaner or degreaser can remove most stains. For organic growth like algae or mildew, apply a diluted bleach solution (1 part bleach to 3 parts water), let it sit for 10-15 minutes, then scrub and rinse. For tough stains, consider a commercial concrete cleaner or hire a professional for soft washing.
Delicate surfaces fail slowly, then all at once, and pressure washing is often what tips them over the edge. If your render, timber, or cladding is already showing its age, cleaning it gently is only half the job. Spray Pave Pro brings 23 years of experience to exterior surface restoration, with professional sealing, spray-on concrete, and epoxy flooring backed by a 100% satisfaction guarantee. Get a free quote and find out what your surfaces actually need.
